


☕️ TL;DR – You can create a new Project in Kamua by importing Media via an external Link, your Library or locally from your computer.
⚠️Warning: Please make sure that you have the rights to edit or repurpose the Media you import, or that you are using the video under Fair Use.![]()
![]()

Every new Project will automatically be saved in your Studio. You can access them anytime by selecting My Projects.![]()
In this article you will learn how to:
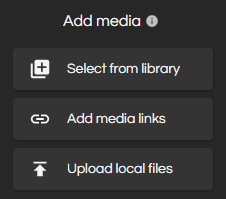
- Create a new Project
- Add Media via an external Link from a hosting source
- Add Media via your Library
- Add Media via your local computer drive
1. Create a new Project
At any time in Kamua, you can click the New Project![]()
2. Add Media via external Link from a hosting source
![]()
![]()
![]()


Heads up: Getting a red tick on your links is an indication you may not have permission to use that source Media outside where it was uploaded. Kamua will not be able to process it as a Link.
3. Add Media via your Library
In Kamua, from the Media panel![]()
![]()
![]()
You can also choose Media by searching the title in the search bar.![]()

Pro tip: Once you select a Media source, hold down Shift on your keyboard to select multiple sources by hovering over the ones you want to include.
️Note: You can also access your Library at the top bar by clicking My Library![]()
4. Add Media via your local computer drive
From the Media panel![]()
![]()