

☕️ TL;DR – Overlays are layers that you can place on top of your videos that contain logos, watermarks, photos, shapes, emojis and more.
⏲ PLEASE NOTE: Overlays are still in Beta and we currently only support Image overlays. Video and custom Text will be coming soon.

In this article, you will learn:
Why are Overlays useful?
Overlays are an essential part of repurposing videos for social media. Often, if you have your logo embedded in your original Landscape video, it will be in one of the corners and will mostly get cropped out of your mobile edits. Kamua has a quick and easy way of ensuring that your logo makes it into your mobile edit and follows the action too.
How do I add Overlays to my Video?
- Select Overlays from your Clip Settings on the right side of the screen
- Click the Select Image

- Click the Add Media

- Once imported, select the image(s) and press the Add source to this project


Pro Tip: We recommend you upload PNG image files to preserve the transparency of your Overlays.
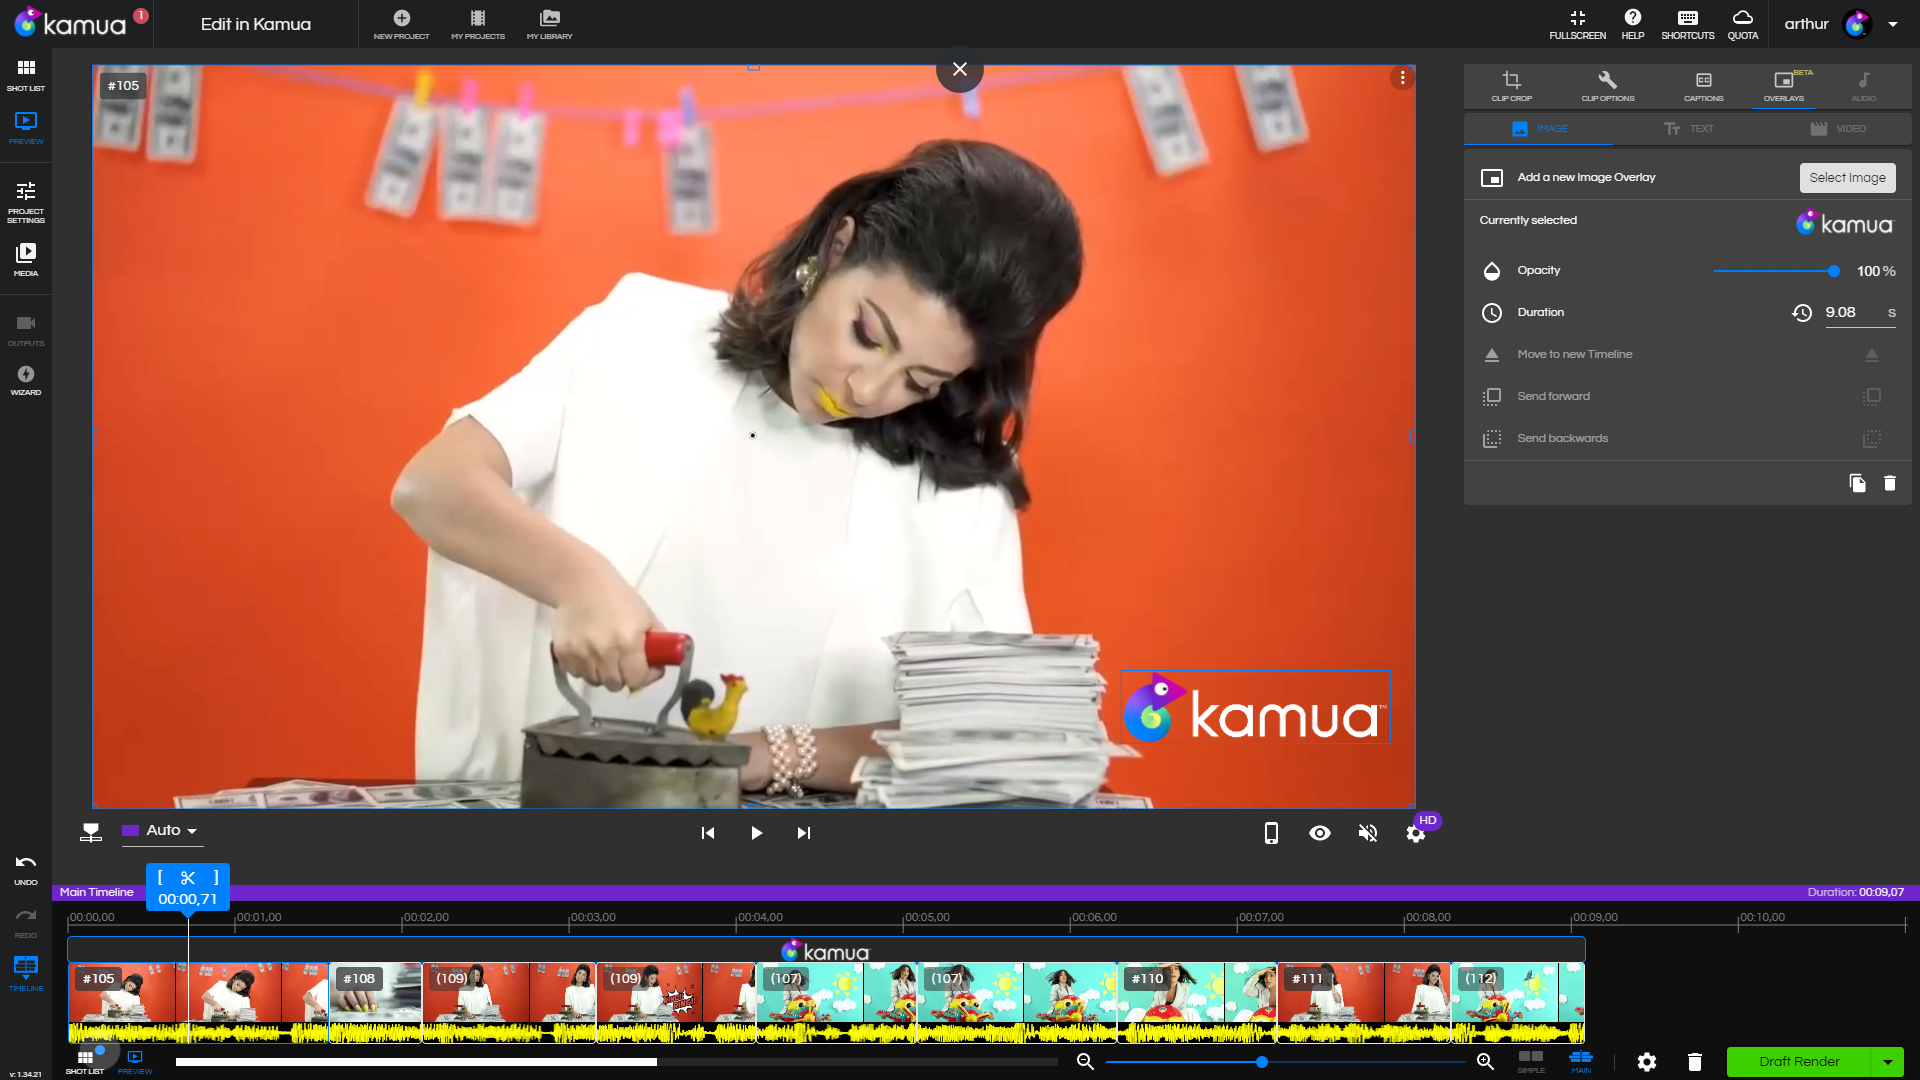

What do the Overlay Settings do?
Once your image Overlay is added to your Timeline you will access to the Overlay settings;
Opacity: Use the slider to change the opacity of your Overlay.
Duration: This allows you to set a custom duration for your Overlay. You can also manually drag the start/end of the Overlay on the Timeline to adjust the duration.
Move to new Timeline: This will allow you to move the selected Overlay to a new layer above it. This is useful when you want to stack multiple Overlays.
Send Forward: This moves the selected Overlay layer to the front. Other Overlays will appear behind it at this point.
Send Backward: This moves the selected Overlay layer to the back. Other Overlays will appear in front of it at this point.