

☕️ TL;DR- The Timeline is an interface where you lay Clips, one after the other (in a linear fashion) to create a video. It’s at the bottom of the Kamua Studio screen and can be turned on/off by using the button on the bottom of the left navbar.
Good to know: When you add a Shot to the Timeline, the resulting Clip will automatically snap to the end of the last Clip (this is sometimes called “magnetic” snapping). It will also snap if you insert the Shot between two Clips already on the Timeline. At the moment, it’s not possible in Kamua to intentionally leave a gap, but we will add that in the near future.
In this article you will learn how to:
- Access the Main Timeline
- Use the Main Timeline
• What is a Clip? - Select and Multi-Select Clips on the Timeline
- Work with Clips
• Adding
• Duplicating
• Rearranging
• Trimming
• Auto Split on Trim - Understand the Playhead
- Scroll the Timeline
- Zoom in and out
- Clear the Timeline
1. Delete single Clips
2. Delete all Clips
How to Access the Timeline
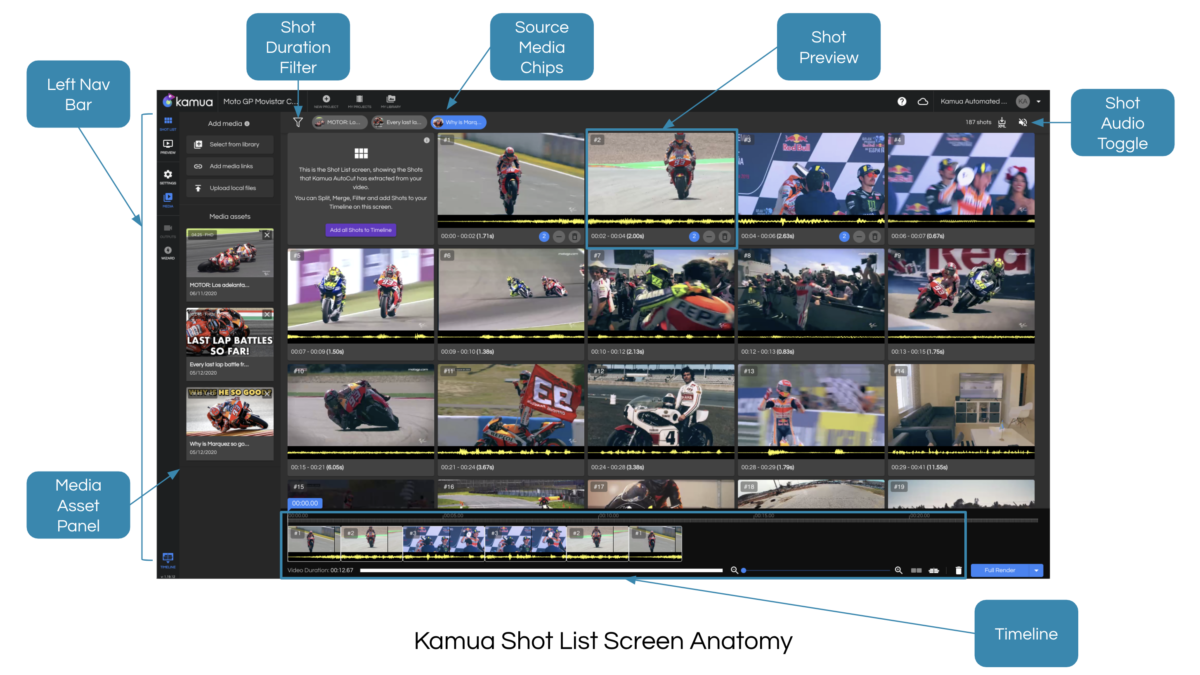
Let’s start off with the anatomy of Kamua’s Studio Interface. It is the main suite of tools in Kamua where you do most of your video edits and repurposing. The Studio contains the Shot List, Preview, Timeline, and Settings.
In the visual below, the Timeline is located at the bottom of the Studio.


On the bottom of the Left Nav Bar, click on the Timeline Icon 

The Timeline icon has two functionalities:
1. You can have the timeline show by clicking the icon with the up arrow. ![]()

2. You can hide the active timeline by clicking the icon with the down arrow.
Pro Tip: If you are just in the mood to browse the Shots that have been cut for you, hiding the Timeline will give you more room to go through your Shot List.
How to use the Main Timeline
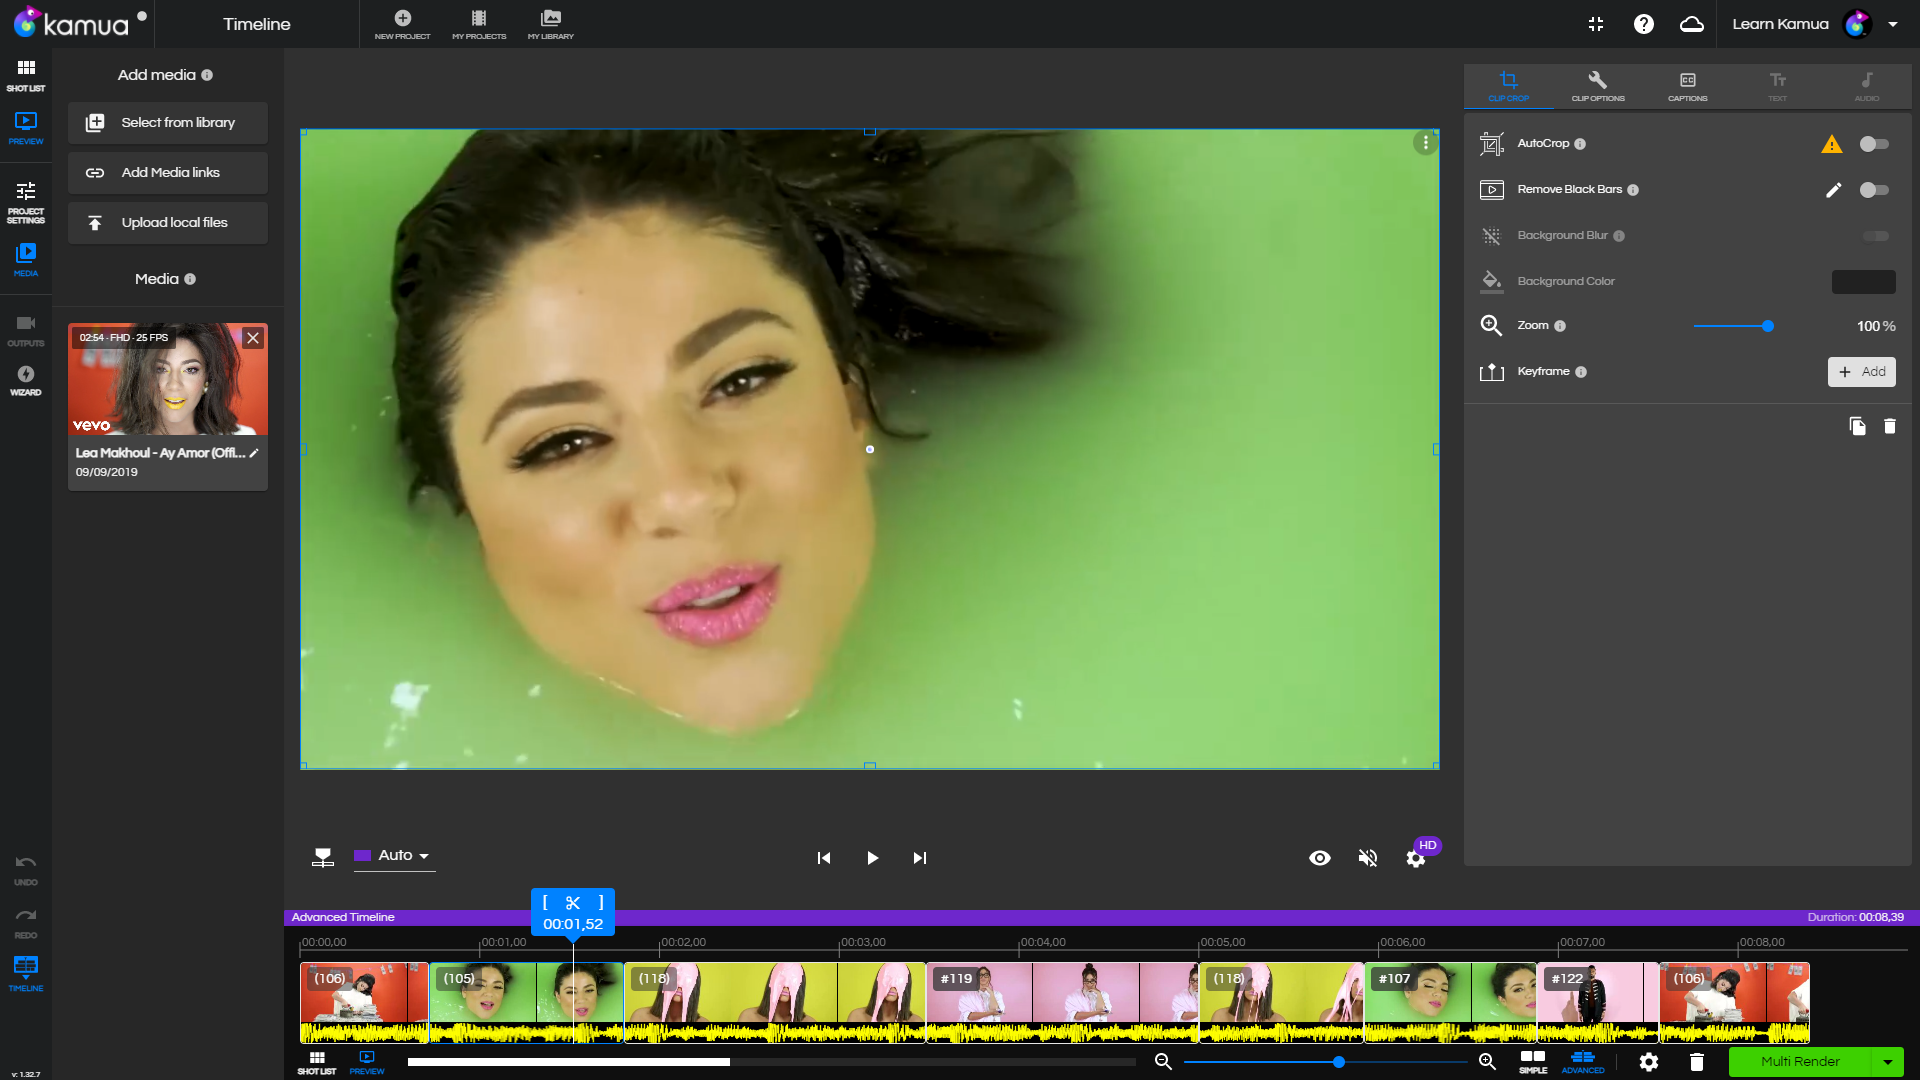
Clicking on a Clip or anywhere on the Timeline will take you to the Preview mode, where you will have access to the Clip Settings on the right of the screen. Learn how to use Preview.

Pro Tip: When in Preview, you can just hit the Play button and watch how the Clip Settings that you made are going to be when you Render the video. This makes it fast and easy to see how your video will look when you resize or Crop it for mobile.
What is a Clip?
Once you have added a Shot from the Shot List to the Timeline, it becomes a Clip. The width of the Clip on the Timeline corresponds directly to its duration.
Each Clip has two icons on it;


How to Select and Multi-Select Clips on the Timeline
Single Clip Selection
When you click on a Clip, the Playhead will snap to that exact point in the Timeline and the Clip will be selected. A selected Clip will have a blue outline. Any changes you make in the Clip Crop or Clip Options on the right-hand side will affect the currently selected Clip.
Multiple Clip Selection
To select multiple Clips on the Timeline, hover over a Clip and you will see that the selection marker


When you have selected multiple Clips, any changes you make in the Clip Crop ![]()
![]()

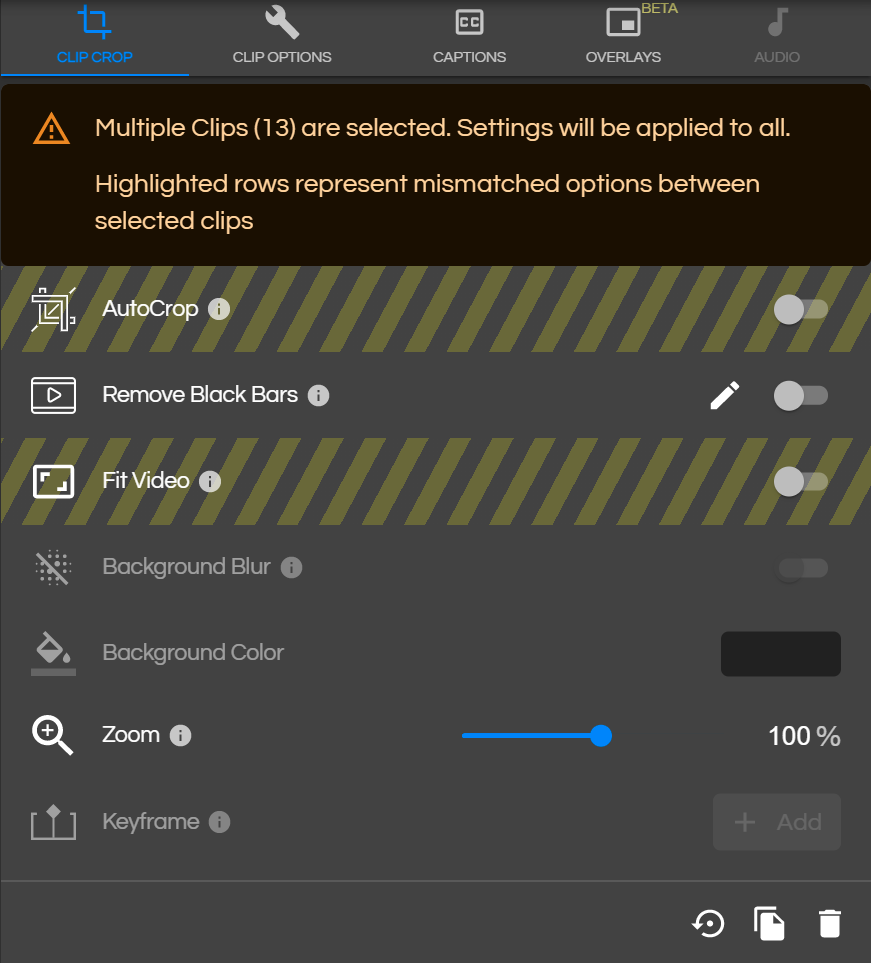

If some selected Clips already have options selected that are different from each other, i.e. AutoCrop, Fit Video etc, those options will be highlighted in the Clip Crop ![]()
![]()
When one or more Clips are selected and have the blue check


Heads Up: If your Playhead is over a Clip that is not selected, you will not see the changes being made to it in the Preview Window. to see the changes being made, position the Playhead over a selected Clip, by clicking above it.
When multiple Clips are selected, there will be a blue bar at the top of the screen, telling you how many Clips are selected. It also contains buttons to Delete the Clip, Clear the selection, or Reset Clip Options to project defaults. This will revert the Clip Crop and Clip Options to conform to the Project Settings.
Working with Clips
Adding Clips
To add a Clip to the Timeline, click on a Shot from the Shot List or drag it to the Timeline. You can add Clips from several different source videos and also add several Clips at once. For more information, go to our Shot List article.
Duplicating Clips
When in Preview Mode, You can duplicate a Clip on the Timeline by clicking the Add a copy of this Clip to Timeline ![]()
Rearranging Clips
To move a Clip to a different point on the Timeline, simply click and drag it to anywhere you want.
Trimming
You can drag the end of a Clip to easily trim or extend it. To trim or extend the beginning of a Clip, use the Source Timeline.
Auto Split Clips when Trimming
On the Main Timeline, if you extend a Clip past the next cut point, Kamua will automatically split it for you, by default. To disable this feature, click the Auto Split Clips on Trim wheel 

{% video_player “embed_player” overrideable=False, type=’scriptV4′, hide_playlist=True, viral_sharing=False, embed_button=False, autoplay=True, hidden_controls=False, loop=True, muted=True, full_width=False, width=’688′, height=’387′, player_id=’50623480902′, style=” %}
Pro Tip: You can use Keyboard shortcuts to help speed up your workflow on the Timeline.
Understanding the Playhead

The Playhead denotes the exact point in the Timeline that is being displayed in the Preview Window.
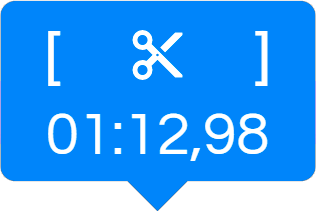
On the Playhead itself, you will see 4 items;
[ Set Trim In – Clicking this will trim the beginning of the Clip to the Playhead’s current position.
] Set Trim Out – Clicking this will trim the end of the Clip to the Playhead’s current position.
![]()
Current Timecode – This displays the Timecode of the Playhead’s current position in HRS:MINS,MS.
Heads Up: Timecode is slightly different in Kamua, compared to other video applications, which use the HRS:MINS:FRAMES format. Kamua uses milliseconds instead of frames because its Timline supports multiple frame rates. This means that the Kamua Outputs may have a variable framerate if multiple sources are used.
Other video apps that only support one frame rate for the Timeline skip or duplicate frames when using sources that have different frame rates. This can result in a jerky or jittery Output.
How to Scroll the Timeline
There are three ways to scroll the timeline:
- Click and drag the Scroll Bar underneath the Timeline.
- Hold SHIFT on the Keyboard whilst scrolling the mouse wheel.
- Use a two-finger gesture/swipe on a trackpad.
How to Zoom in and out
You can change the magnification of your Clips on the Main Timeline by clicking the zoom out icon![]()
![]()

You can also use the slider between the zoom icons to quickly zoom the Timeline. 

Alternatively, while hovering over the Timeline, you can scroll the mouse wheel up to zoom in and scroll the mouse wheel down to zoom out.
The more you zoom in, the more Thumbnails you will see, all the way down to individual Frames at the most zoomed-in level.
How to Clear the Timeline
1. You can delete a Clip by clicking the check
You can also delete Clips without receiving a confirmation message using Backspace/Delete on your keyboard to delete the currently selected Clip, or by using the trashcan icon![]()
2. If you have added several Clips onto your Timeline and wish to delete them all, you can click the trashcan icon![]()
![]()

️ Note: You can click Undo or Redo from the Left Nav Bar to bring back your deleted Clips.
Pro Tip: When presented with confirmation messages before deleting a Clip, you can choose to not be asked again, by checking the relevant box. This can be reset from the Confirmation Dialogs option under your Profile in the top right of the page.